From Script to Screen: The Journey of Creating a 3D Explainer Video
In the world of digital marketing, a 3D explainer video can be a game-changer, offering a dynamic way to convey complex ideas and engage audiences. But what goes into creating one of these captivating videos? Let’s take a behind-the-scenes look at the journey of creating a 3D explainer video, from the initial concept and scripting to the final animated product.
Step 1: Concept Development
Brainstorming
The journey begins with brainstorming. This is where the team gathers to discuss the core message, target audience, and key objectives of the video. The goal is to generate a clear vision of what the video should achieve and how it should communicate the message.
Research and Analysis
Next, the team conducts thorough research to understand the product, service, or concept being explained. This involves understanding the pain points of the target audience and how the product or service provides a solution. Competitor analysis is also essential to identify what works and what doesn’t in similar videos.
Creative Brief
Based on the brainstorming sessions and research, a creative brief is developed. This document outlines the project’s goals, target audience, key messages, tone, style, and any specific requirements or constraints. The creative brief serves as a roadmap for the entire production process.
Step 2: Scripting
Crafting the Narrative
With a clear concept in place, the next step is writing the script. The script is the foundation of the explainer video, providing the narrative that will guide the visuals. It should be concise, engaging, and tailored to the target audience. The script typically includes:
Introduction: Hook the audience with a compelling opening.
Problem Statement: Clearly define the problem or pain point.
Solution: Introduce the product or service as the solution.
Benefits: Highlight the key benefits and features.
Call to Action: End with a strong call to action, guiding viewers on what to do next.
Review and Revisions
Once the initial draft of the script is ready, it goes through several rounds of review and revisions. Feedback from different stakeholders is incorporated to ensure the script aligns with the project’s goals and effectively communicates the message.
Step 3: Storyboarding
Visual Planning
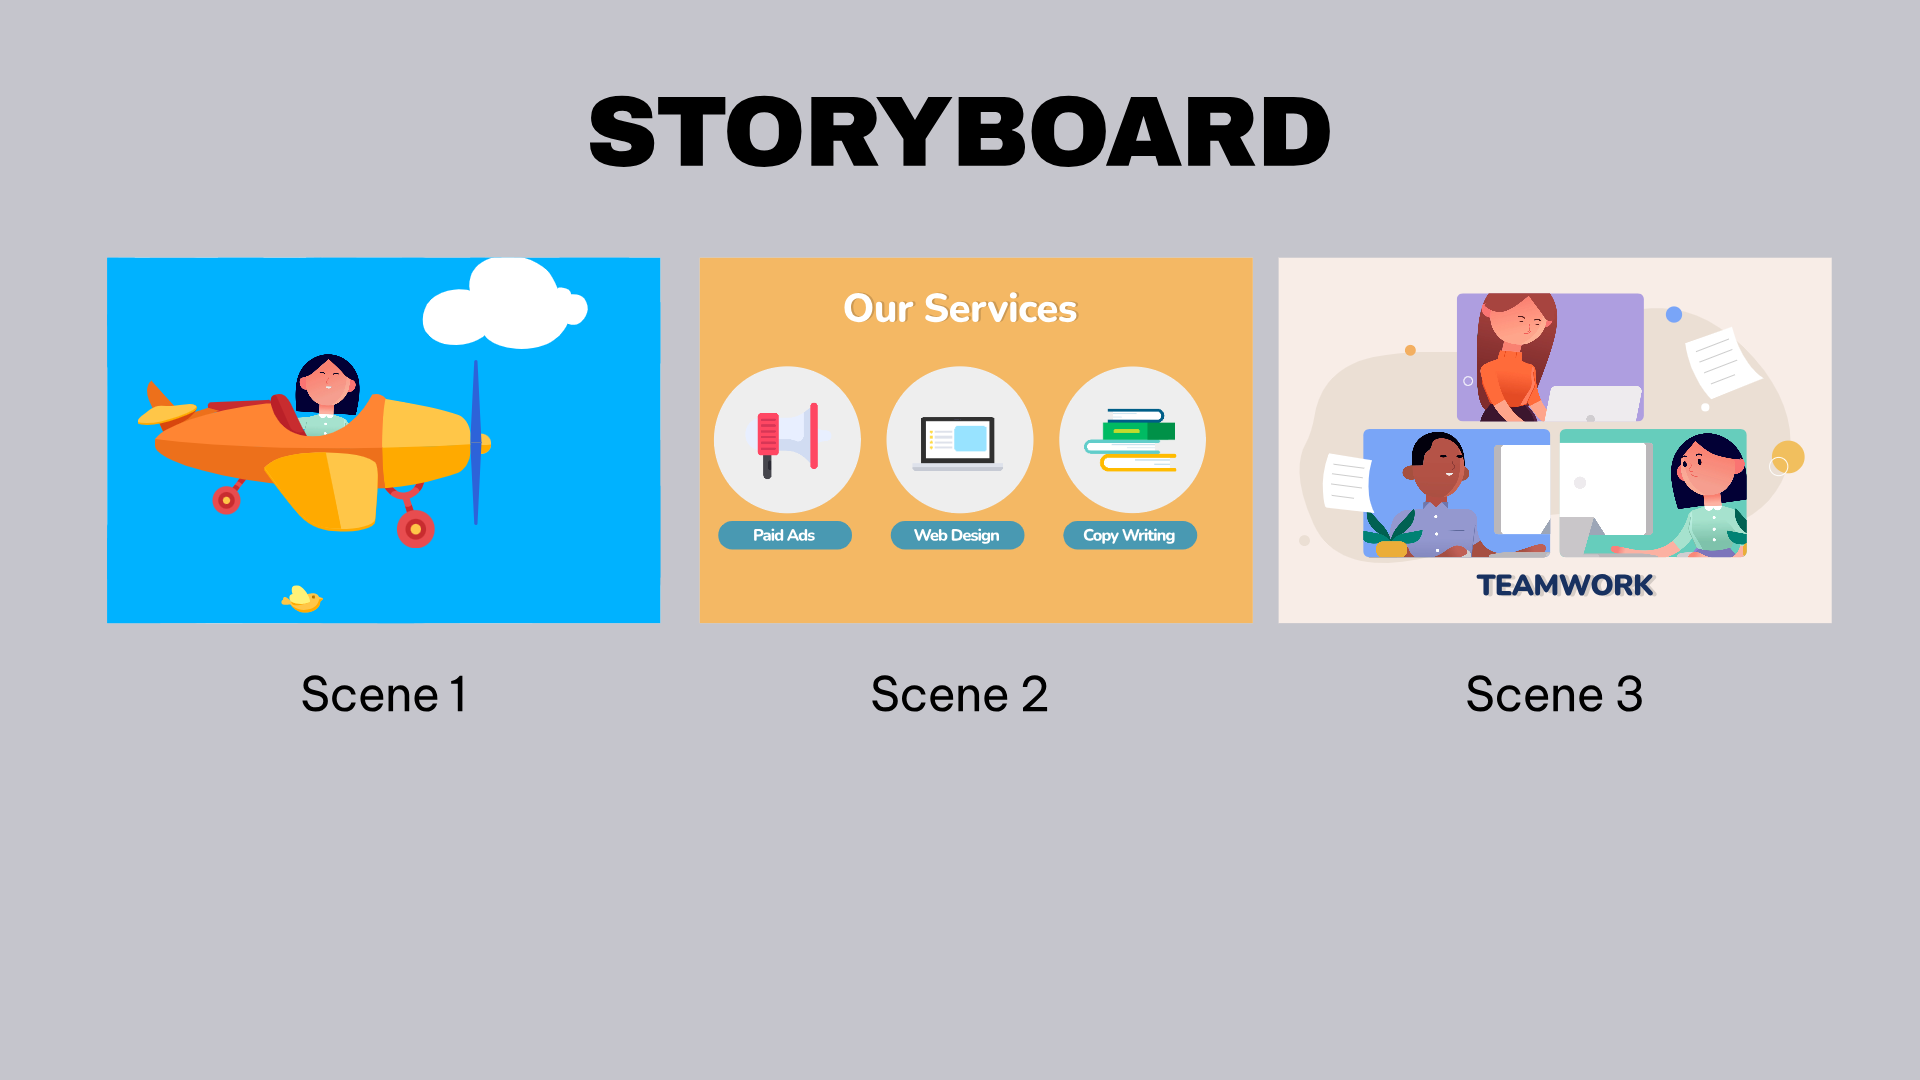
The storyboard is a visual representation of the script. It outlines each scene of the video, including key actions, camera angles, and transitions. Storyboarding helps to visualize the flow of the video and identify any potential issues early in the process.
Scene by Scene Breakdown
Each scene in the storyboard corresponds to a part of the script. The storyboard includes sketches or digital illustrations, along with notes on timing, movements, and special effects. This detailed planning ensures that everyone involved in the production has a clear understanding of what each scene will look like.
Step 4: Design and Modeling
Creating the Assets
With the storyboard as a guide, the design and modeling phase begins. This involves creating the characters, environments, and other visual elements that will appear in the video. In 3D animation, this process includes:
Character Design: Designing the look and feel of the characters, ensuring they align with the brand and appeal to the target audience.
Environment Design: Creating the settings and backgrounds where the action will take place.
Prop Design: Developing any additional items or tools that characters will interact with.
3D Modeling
Once the designs are finalized, 3D models are created using specialized software. This step involves sculpting the characters and objects in three dimensions, adding details and textures to make them look realistic and appealing.
Step 5: Animation
Bringing the Characters to Life
The animation phase is where the magic happens. Animators bring the 3D models to life by adding movement and expressions. This involves:
Rigging: Creating a skeleton for the characters, allowing them to move in a natural and fluid way.
Animating: Moving the characters and objects frame by frame to match the actions described in the storyboard.
Voiceover and Sound Effects
A professional voiceover artist records the script, providing the narration for the video. Sound effects and background music are also added to enhance the overall viewing experience and emphasize key moments in the animation.
Step 6: Rendering and Editing
Finalizing the Visuals
Rendering is the process of generating the final visuals from the 3D models and animations. This step can be time-consuming, as it involves creating high-quality images and sequences. The rendered frames are then compiled into a final video.
Editing and Polishing
The final step is editing. This involves combining the rendered visuals with the voiceover, sound effects, and music. The editor ensures that the timing is perfect, transitions are smooth, and the overall video is polished and professional.
Step 7: Review and Delivery
Quality Control
Before the video is delivered, it undergoes a final review. This involves checking for any errors or inconsistencies and ensuring that the video meets the project’s goals and specifications. Feedback is incorporated, and any necessary adjustments are made.
Delivery and Distribution
Once the video is approved, it is delivered in the required format and resolution. The video can then be distributed across various platforms, including the company’s website, social media channels, and email campaigns.
Conclusion
Creating a 3D explainer video is a complex and collaborative process that involves a variety of skills and expertise. From the initial concept and scripting to the final animation and delivery, each step is crucial in producing a video that effectively communicates the intended message and engages the audience. By understanding and embracing this process, businesses can leverage the power of 3D explainer videos to enhance their marketing strategies and achieve their goals.


